Replacing the battery in your garage door opener keypad is a simple task most homeowners can do with confidence. It’s a great way to keep things running smoothly between visits from garage door companies, who remain essential for more advanced repairs. All you need is a small Phillips screwdriver, a fresh 9-volt battery, and a clean cloth. This quick guide walks you through the steps from opening the compartment to testing the keypad. In just a few minutes, your keypad will be working perfectly again while it would stil be helpful to rely on garage door companies when it truly matters.
Gather Your Tools
Before you start, collect everything you need to complete the job smoothly. Grab a small Phillips-head screwdriver, typically a #1 or #2, to remove the screws on the keypad cover. Pick up a fresh 9-volt alkaline battery, which is the standard power source for most garage door opener keypads. Keep a clean cloth or alcohol wipes nearby to wipe away any dust or debris inside the battery compartment. A flashlight can help if the area around your keypad isn’t well lit. Having these tools ready before you begin makes the whole process faster and easier.
Locate the Battery Compartment
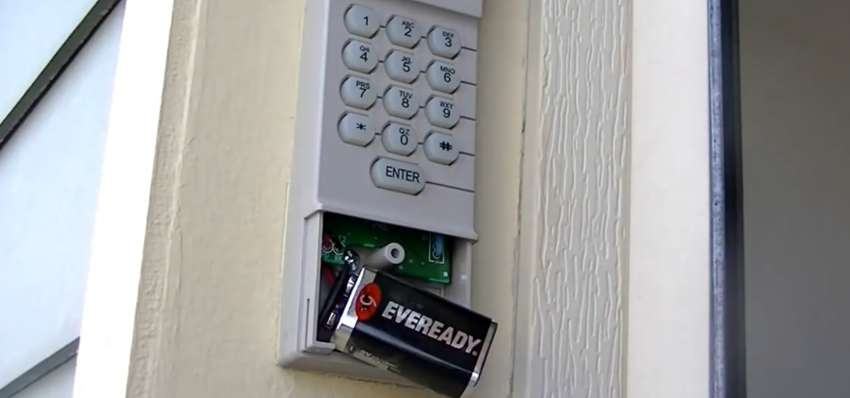
Find the battery section on your garage door opener keypad by checking the back or underside of the device. Look for a small cover or panel that houses the battery. The compartment is usually secured with screws or a sliding latch. Using a screwdriver or your fingers, depending on the design, carefully remove the screws or slide the latch to open the section. Inside, you’ll see the old battery that needs replacing. Pay attention to how the battery sits in the compartment so you can put the new one in correctly. The correct polarity is typically marked inside the compartment with plus and minus symbols.
Remove the Old Battery
Carefully remove the old battery to avoid damaging any internal components.
- Locate the battery compartment: Check the back or bottom of the keypad.
- Identify the battery orientation: Note the position of the positive (+) and negative (-) terminals before removing anything.
- Remove the battery: Push the battery gently from the compartment, applying even pressure to avoid bending or damaging the contacts.
Insert the New Battery
Place the new battery into the compartment with the positive and negative terminals correctly oriented. Check the markings inside the battery compartment to line up the terminals accurately. Slide the battery in gently, making sure it fits snugly. Once the battery is positioned correctly, close the compartment cover securely to prevent any shifting. Make sure the cover is tightly sealed so power flows without interruption. Give the keypad a gentle shake to confirm the battery doesn’t rattle or move. Remember to dispose of the old battery properly at a recycling center or designated drop-off location.
Test the Keypad
Confirm that your keypad works correctly after the battery replacement.
- Enter Code: Enter your usual access code on the keypad to verify that the numbers are entered correctly.
- Press Buttons: Press each button on the keypad to make sure they all respond with a click and feel secure.
- Test Garage Door: Input your code and press the “Enter” or “Open” button to verify that the garage door responds properly.
Running these tests confirms that the keypad operates as expected with the new battery. If any issues persist, refer to the manufacturer’s instructions or consider replacing the keypad entirely.
Secure the Battery Compartment
After confirming the keypad works, reattach the battery compartment cover securely. Locate the battery cover on the back of the keypad and align it with the compartment opening. Slide it into place until it clicks shut. Make sure the cover sits flush with the keypad, with no gaps. Tighten the screws using a screwdriver to hold the cover in place. Keep the screws snug but don’t overtighten them since that can crack the plastic housing. Once the battery compartment is securely closed, test the keypad again to confirm everything functions properly. This final step protects the battery and keeps your garage door opener keypad running reliably for months to come.
Related Topics:
Leave a Reply