Installing a commercial garage door opener isn’t just about bolting hardware to a ceiling and calling it a day. The process requires thoughtful planning around size, weight, and how often that door will be cycling open and closed. Whether you’re handling the job yourself or working with Warwick’s reliable repair professionals, understanding each step helps you avoid costly mistakes down the road. This guide walks you through selecting the right opener, prepping your space, mounting the unit, wiring everything correctly, and keeping the system running smoothly for years to come.
Choosing the Right Garage Door Opener
Picking the right commercial garage door opener means matching the unit to your actual needs—not just grabbing whatever’s on sale. Think about the door’s size and weight, how many times per day it’ll be opening and closing, and what security features matter most to your operation. Heavy-duty applications call for a high-powered motor with enough horsepower to handle the workload without straining.
Look for models with solid construction and dependable safety mechanisms that won’t quit on you mid-shift. You’ll also want to check compatibility with your existing garage door system and see what accessories are available if you need extras like remote monitoring, battery backup, or beefed-up security protocols. Taking time to weigh these factors helps you land on an opener that actually fits your situation.
Preparing the Installation Site
Getting the site ready before you start mounting anything saves headaches later. Clear out any junk, debris, or random stuff that’s going to get in your way during installation. Check your ceiling structure to confirm it can actually handle the opener’s weight and that you’ve got enough clearance for the unit to sit securely. Take a look at the electrical wiring in the area, too; you need to verify it meets the requirements for your specific opener model. Skipping these prep steps is how people end up with wobbly installations or electrical issues that could’ve been avoided with ten minutes of inspection upfront.
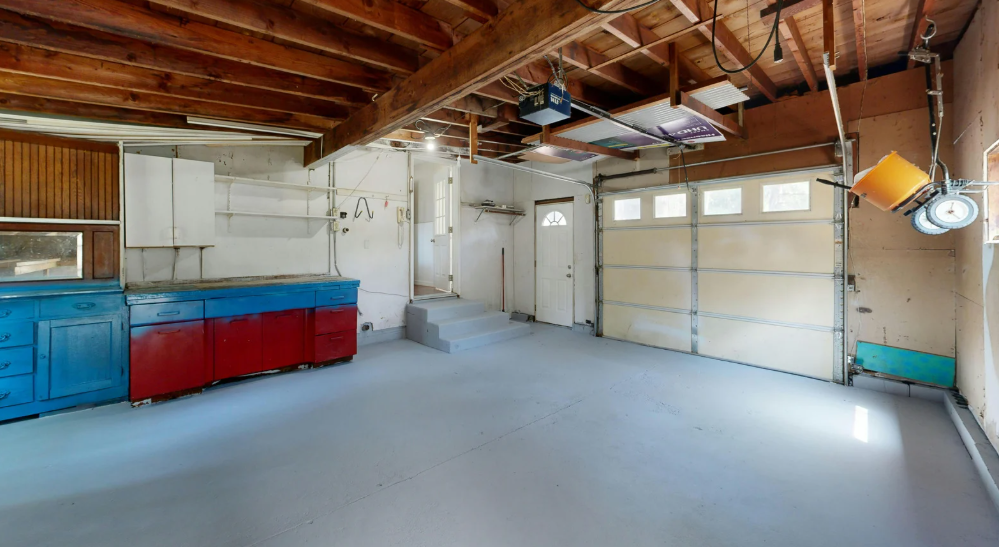
Mounting the Garage Door Opener
Start by positioning the opener in its designated spot. Make sure whatever surface you’re mounting to is structurally sound and can support the unit’s weight without sagging or shifting. Grab a level and confirm the opener sits correctly aligned before you mark your mounting holes.
Secure the opener to the ceiling or wall with the right hardware, you want it firmly attached so it doesn’t vibrate loose during operation. Stick to the manufacturer’s instructions for your specific model since mounting requirements vary. Give everything a stability check before moving forward. Solid mounting is the foundation for safe, efficient operation.
Wiring and Programming
Now comes the technical part. Connect the power source to the opener according to the manufacturer’s directions, making sure all connections are secure and properly insulated. Wire up the control station, safety sensors, and any additional accessories using the wiring diagram that came with your unit. Test each connection for continuity and correct voltage levels before proceeding, this isn’t the step to rush through. Once wiring is squared away, program the opener by setting open and close limits, adjusting force settings, and syncing up any remote controls or keypads. Your user manual has the specific programming sequences and troubleshooting info if something’s acting weird.
Testing and Adjusting
With wiring and programming done, it’s time to make sure everything actually works. Test the door’s movement and watch for smooth operation without jerking or stalling. Check the balance by disconnecting the opener and manually lifting the door, it should stay open on its own.
Adjust force settings so the door doesn’t slam shut with excessive power. Verify your safety features work properly by placing something in the door’s path while it’s closing to test the auto-reverse mechanism. Fine-tune the open and close limits until you get precise positioning. Inspect sensor alignment and tweak as needed for reliable performance.
Maintenance Tips and Best Practices
Regular maintenance is what separates openers that last a decade from ones that crap out in three years. Do visual inspections routinely to spot wear or damage on the opener, tracks, and cables before small problems become expensive ones. Tighten loose hardware and lubricate moving parts like hinges, rollers, and chains to keep everything running smoothly.
Test safety features regularly, that auto-reverse mechanism exists to prevent accidents, so make sure it’s actually functional. Keep electrical components clean and dry to avoid malfunctions. Follow whatever maintenance schedule the manufacturer recommends and bring in a professional for servicing at least once a year. Staying on top of these basics extends your opener’s lifespan and keeps it running efficiently.
Related Topics:
Leave a Reply