Keeping your garage secure starts with knowing how to update your access code. Warwick’s garage door services can help with complex issues, but changing your code is something most homeowners can handle on their own. You’ll need basic tools like a screwdriver and your opener’s manual to get started. This guide walks you through each step from locating your opener to testing your new code. Follow along to protect your home and gain peace of mind.
Why You Should Update Your Garage Door Code Regularly
Changing your garage door code regularly helps protect your home from unauthorized access. When you update the code frequently, you reduce the risk of intruders gaining access to your garage and potentially your house. This simple habit ensures only people you trust can enter your property. Regular code changes also prevent unauthorized duplication, strengthening your home’s overall security. Taking this step shows you’re serious about protecting your family and belongings. Periodically updating your code can also reveal weak points in your garage door system, giving you the chance to fix them before problems arise. Security should always come first, and updating your garage door code is one of the easiest ways to stay protected.
Gather Your Tools and Information
Before you start, collect everything you need for a smooth code change.
- Tools Needed:
- Screwdriver
- New batteries (if needed)
- Smartphone or computer for reference
Make sure you have the manufacturer’s manual for your garage door opener handy. Different models use different methods for code changes, so the manual is your best reference. Take time to learn about your garage door system’s safety features to avoid accidents while you work. Understanding the steps and precautions ahead of time helps you complete the code change without running into problems.
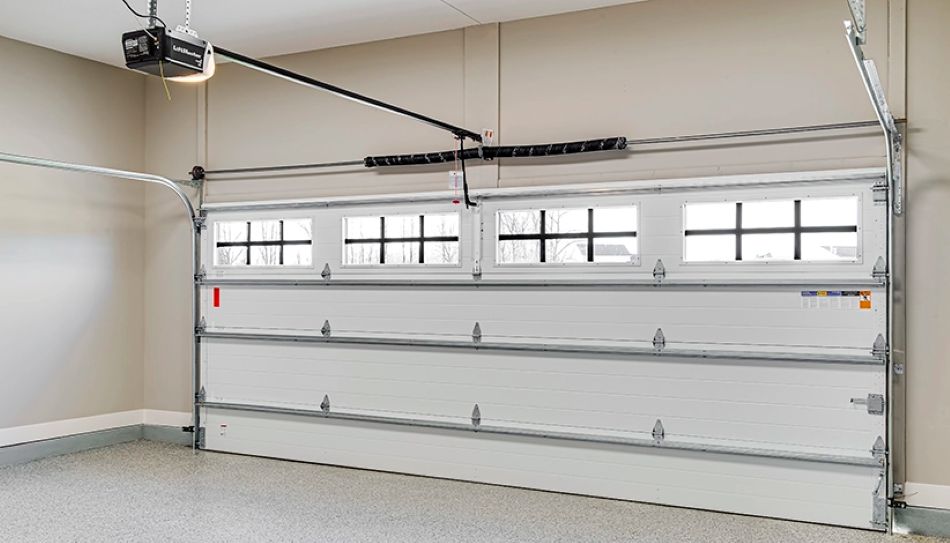
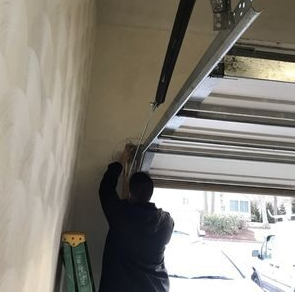
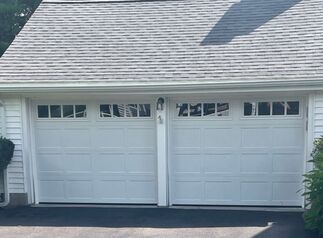
Find Your Garage Door Opener
Your garage door opener should be easy to reach when you’re ready to change the code. Most openers mount on the ceiling near the center of the garage. Some models also have a wall-mounted control panel inside the garage. Check that the opener has working batteries and operates correctly before you begin. Spend a few minutes learning how the opener works and familiarizing yourself with its buttons and functions. This knowledge will come in handy when you reset the code. Keep the manual nearby for quick reference if needed. Having everything within reach speeds up the process and prevents unnecessary interruptions.
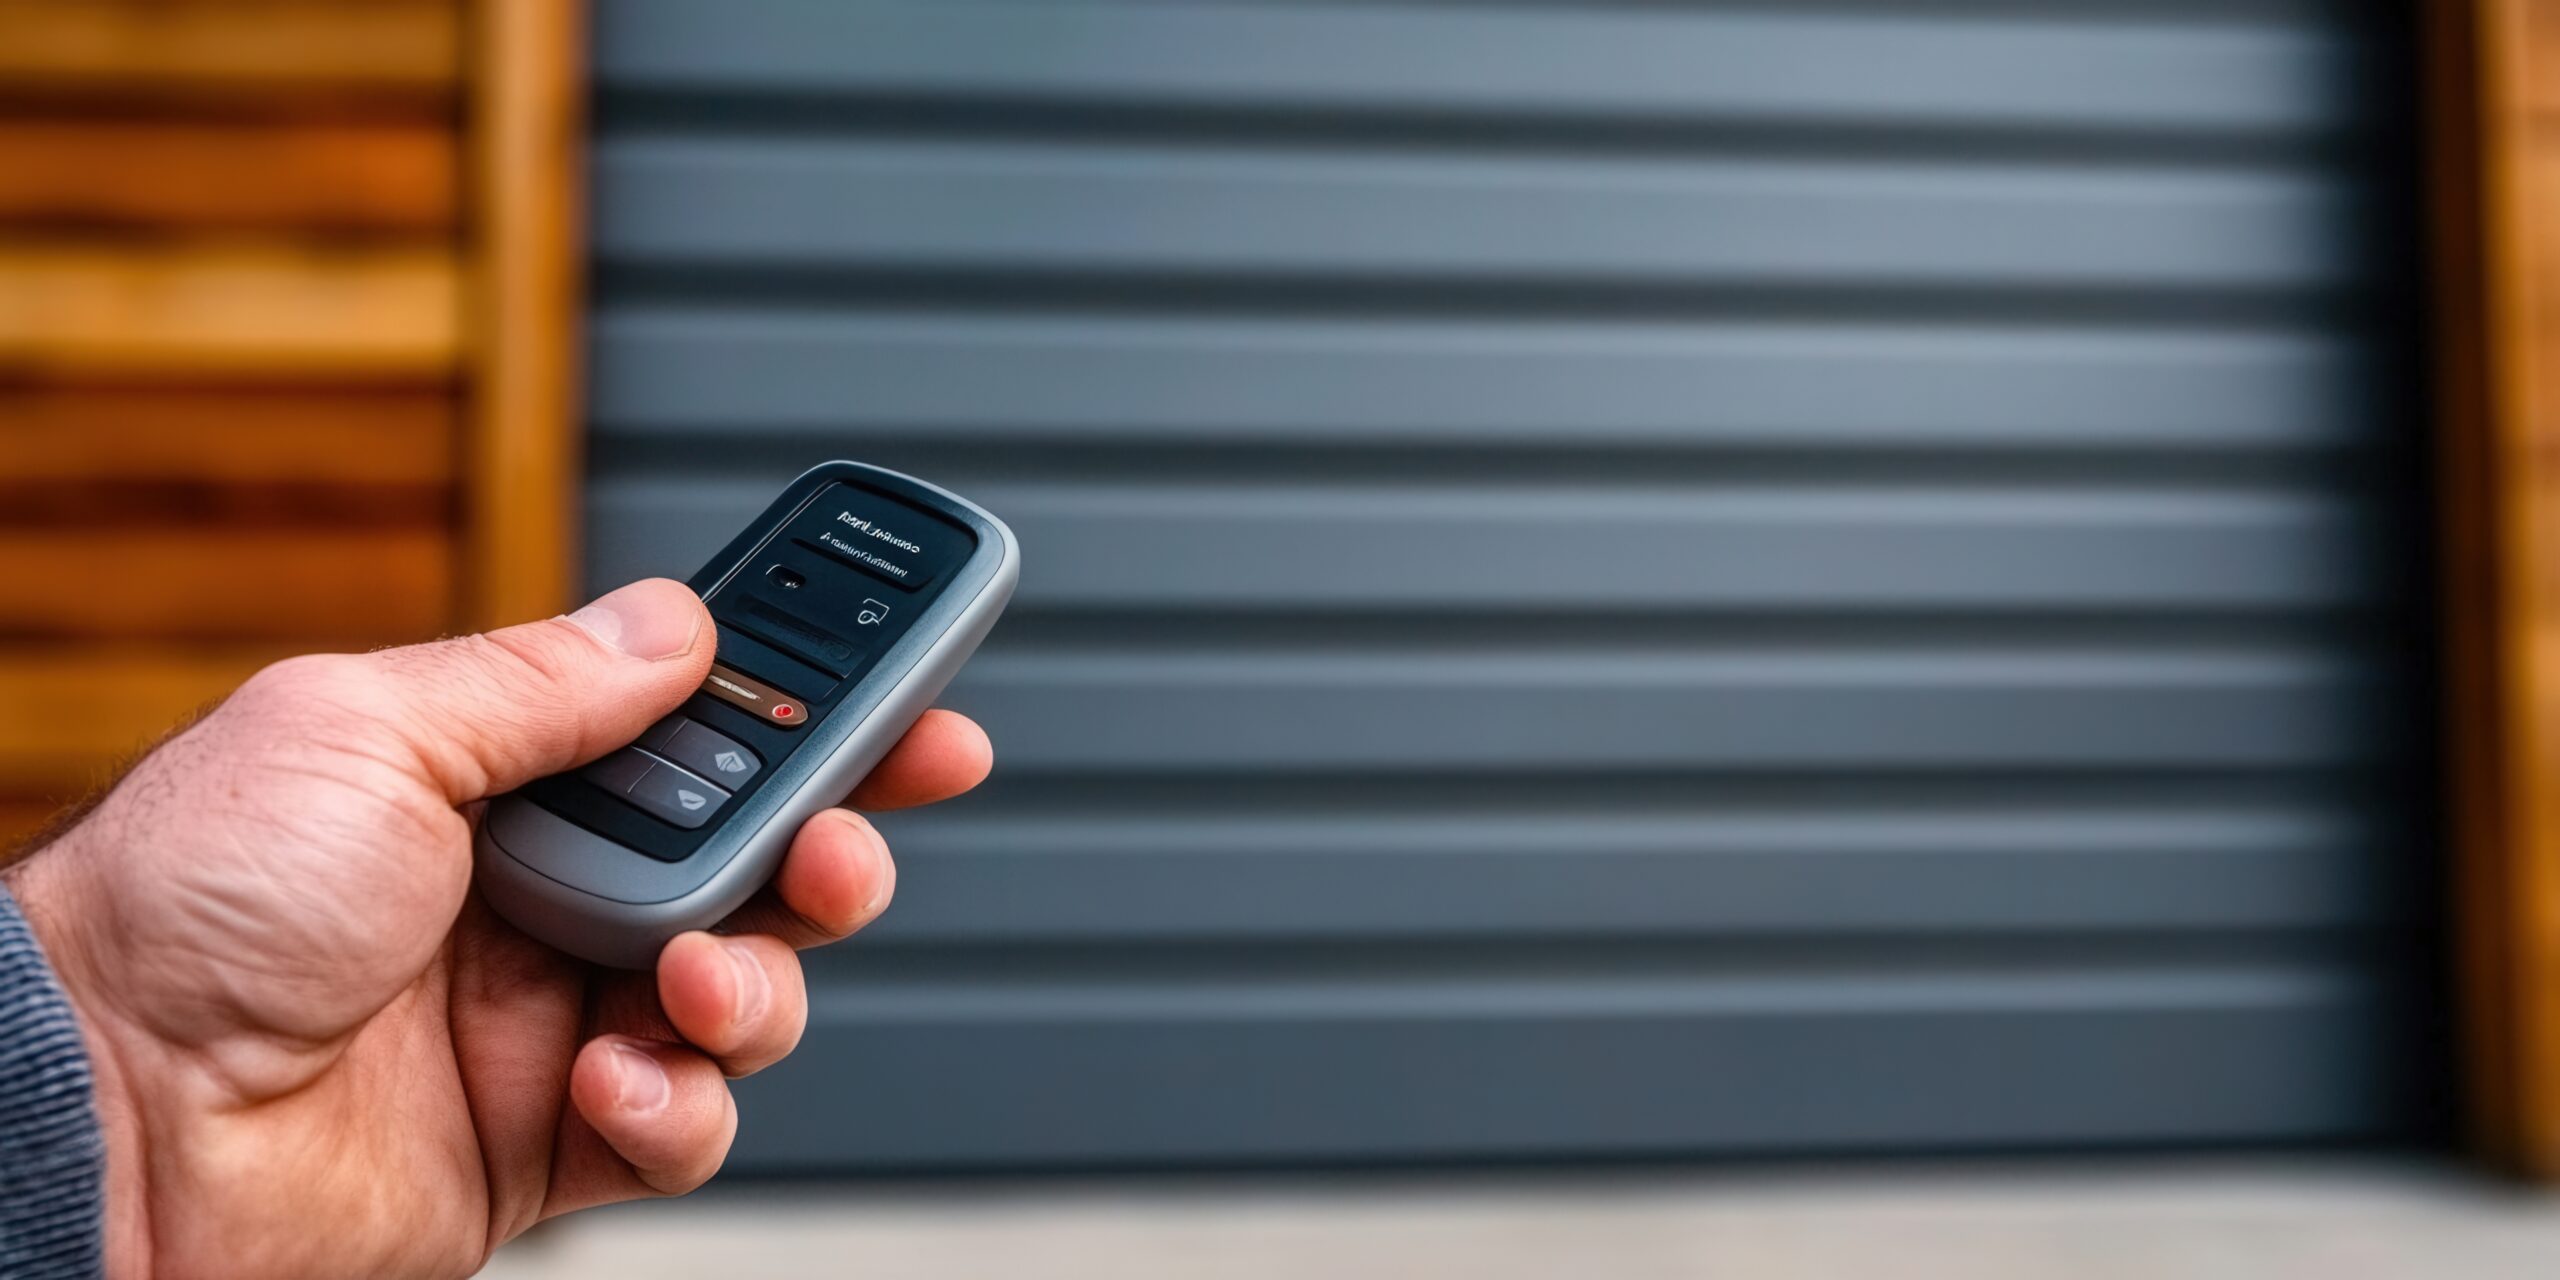
How to Reset Your Garage Door Code
Follow these steps to reset your code and keep your garage secure:
- Find the Reset Button: Look for a small reset button on your garage door opener. You can usually press it with a paperclip or similar tool.
- Press and Hold: Push and hold the reset button until the indicator light on the opener starts blinking. This typically takes a few seconds.
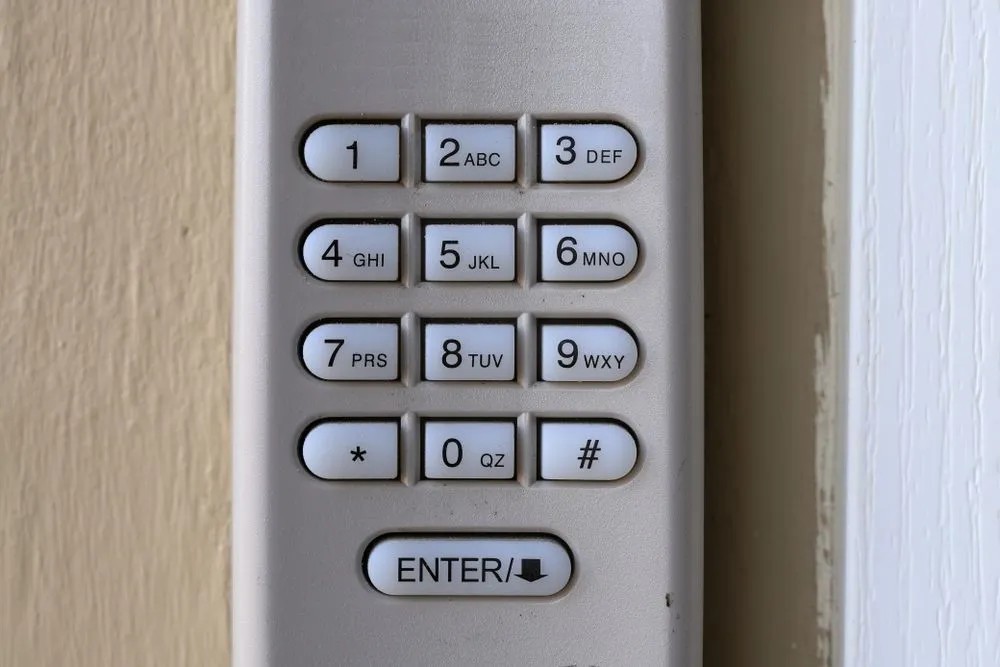
- Enter Your New Code: Once the light blinks, type a new code on your garage door keypad. Pick something easy for you to remember but hard for others to guess.
Test Your New Code
After setting your new code, make sure it works properly. Enter the code on the keypad and watch the door open and close smoothly. Step inside the garage and use the remote control to confirm the code works from a distance. Test the safety sensors by placing an object in the door’s path; the door should stop and reverse when it detects an obstruction. Once everything checks out, you can feel confident that your garage is secure and that your code change was successful.
Extra Security Tips for Your Garage
Motion-sensor lights around your garage add another layer of protection. These lights discourage potential intruders and alert you to any movement near your garage. Here are three more ways to keep your garage safe:
- Keep Your Remote Secure: Always carry your garage remote or store it in a safe place to prevent unauthorized access.
- Schedule Maintenance Checks: Inspect your garage door and its security features regularly to make sure everything works correctly.
- Limit Access: Share your garage door code only when necessary. Fewer people with access means better security for your home.
Related Topics: